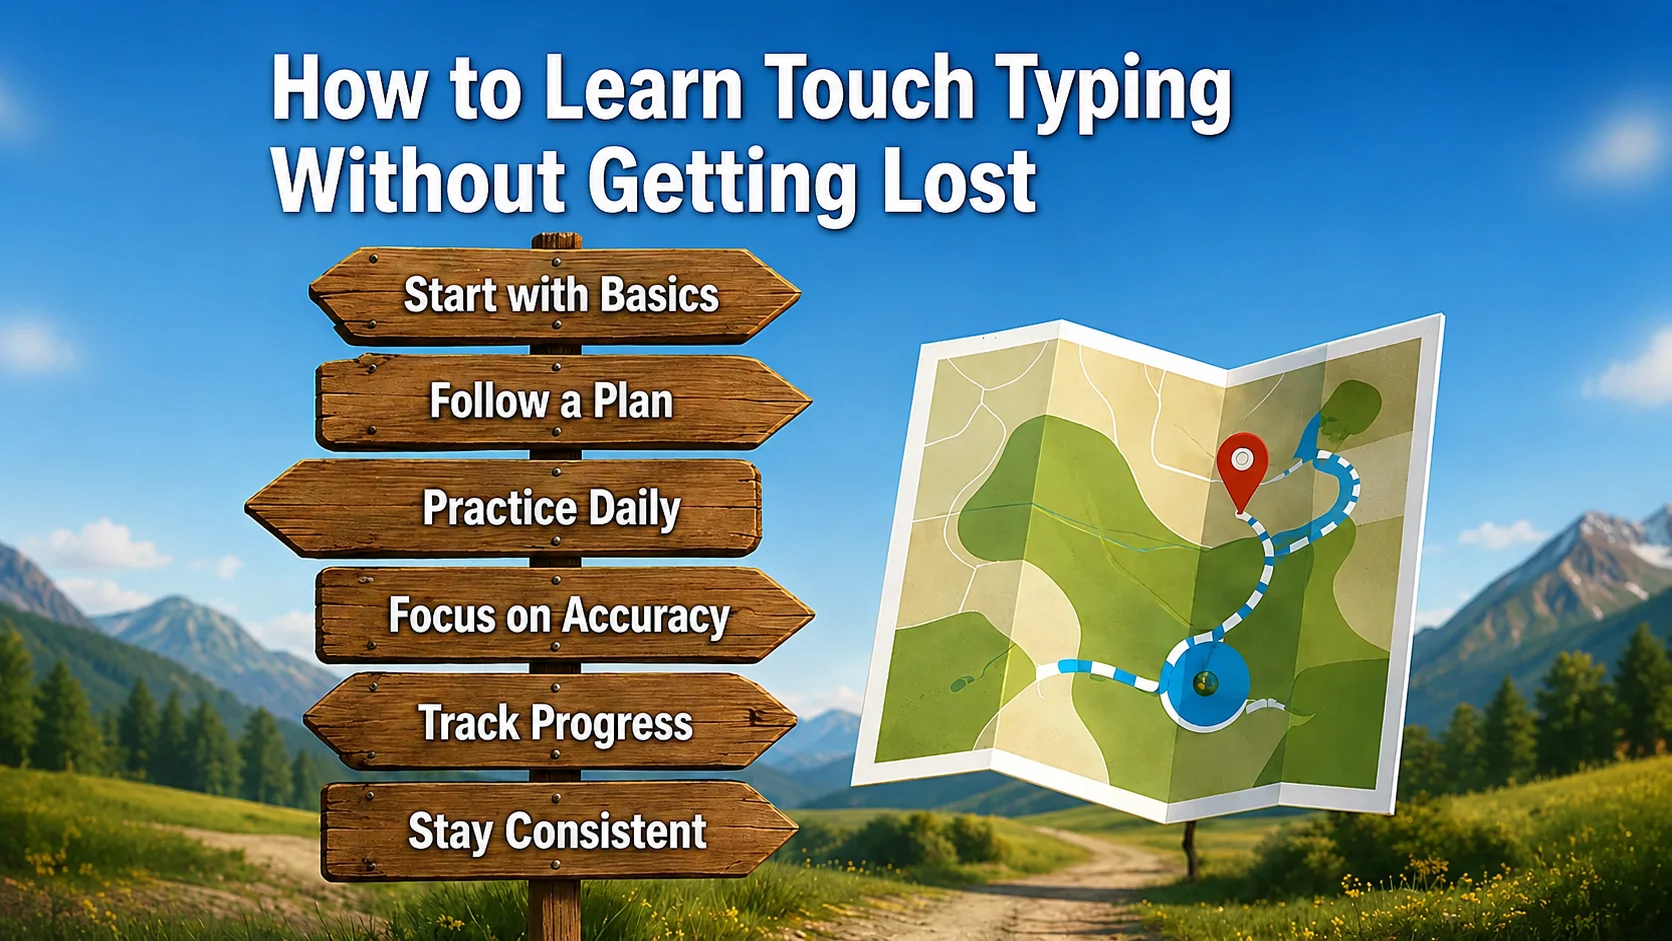
Learning touch typing can feel confusing at the beginning.
You may wonder where your fingers should go, which keys to practise first, whether you should look at the keyboard, and how fast you should be typing. Many beginners also jump into random typing tests too early and then feel lost when the text becomes too difficult.
The good news is simple:
Touch typing becomes much easier when you follow a clear path.
You do not need to learn the whole keyboard at once. You need a simple order, short practice sessions, and enough repetition to make each step feel familiar before moving on.
This guide shows you how to learn touch typing without getting lost.
The quick answer
To learn touch typing without feeling overwhelmed:
- Start with posture and hand position
- Learn the home row first
- Add new keys gradually
- Practise accuracy before speed
- Use short lessons instead of long random tests
- Repeat weak areas before moving ahead
- Track progress so you know what to practise next
The aim is not to type fast on day one. The aim is to build a keyboard habit that feels calm, organised, and repeatable.
1. Understand what touch typing means
Touch typing means typing without needing to look at the keyboard for every key.
Your fingers learn where the keys are by position and movement. Over time, your eyes stay on the screen while your fingers find the keys automatically.
That does not happen instantly. It develops through practice.
A beginner should not expect to type perfectly straight away. At first, touch typing may even feel slower than your old method. That is normal.
You are replacing guessing and looking down with a more reliable system.
Tip: Feeling slower at the beginning does not mean touch typing is not working. It means your fingers are learning a new habit.
2. Start with posture and hand position
Before learning more keys, make sure your setup is comfortable.
Poor posture can make typing harder because your hands feel tense and your fingers do not move freely.
Check these points:
- Sit comfortably
- Keep your shoulders relaxed
- Keep your keyboard directly in front of you
- Keep your wrists neutral
- Rest your fingers lightly on the keys
- Use a gentle key press
- Keep your eyes on the screen when possible
You do not need a perfect office setup, but you do need a position that allows relaxed movement.
If your hands feel stiff or tired quickly, slow down and reset your position.
3. Learn the home row first
The home row is the centre of touch typing.
On a standard keyboard, your fingers rest here:
| Hand | Home row keys |
|---|---|
| Left hand | a s d f |
| Right hand | j k l ; |
Your index fingers rest on f and j. These keys usually have small bumps so you can find them without looking.
The home row matters because it gives your fingers a base. After reaching for another key, your fingers return to this position.
A useful beginner goal is:
Find the home row without looking down.
Home row practice
Try these short lines:
asdf jkl;
fdsa ;lkj
sad dad lad fall
ask all salad flask
Type slowly. Focus on returning your fingers to the home row after each movement.
4. Do not learn every key at once
One reason beginners get lost is that they try to practise the whole keyboard too early.
The keyboard has letters, numbers, punctuation, Shift keys, symbols, and spacing. Trying to master all of it at once can feel messy.
A better path is gradual.
A simple learning order could be:
- Posture and home row
- Home row words
- Top row letters
- Bottom row letters
- Capital letters
- Punctuation
- Numbers
- Symbols
- Longer sentences and paragraphs
- Timed typing tests
This gives your brain and fingers time to connect each key with the correct movement.
Qtype Pro is built around this kind of structured path so learners do not have to guess what comes next.
5. Focus on accuracy before speed
Many beginners ask:
How fast should I type?
At the beginning, the better question is:
How accurately can I type?
Speed grows from clean movement. If you rush before your fingers know the keys, you will make more mistakes and feel more frustrated.
A good early target is:
- Type slowly
- Keep accuracy high
- Avoid unnecessary backspacing
- Repeat short drills
- Move on only when the keys feel familiar
Try to aim for 95% accuracy or higher during controlled practice. If your accuracy drops, slow down.
Accuracy drill
Type this line three times:
I can type slowly and clearly.The goal is not speed. The goal is control.
6. Use short lessons instead of random tests
Typing tests are useful, but they are not the best starting point.
A typing test measures what you can already do. It does not always teach you the next step. If the test includes keys you have not learned yet, you may feel lost or discouraged.
Short lessons are better for beginners because they give you one clear focus at a time.
For example:
| Lesson focus | What you practise |
|---|---|
| Home row | Finger position and anchors |
| Top row | Controlled reaches upward |
| Bottom row | Controlled reaches downward |
| Capitals | Shift key timing |
| Punctuation | Commas, full stops, question marks |
| Numbers | Careful number row reaches |
Use typing tests later to measure progress, not as your only practice method.
You can try a one-minute typing test when you want a quick progress check.
7. Keep practice sessions short
You do not need long practice sessions to learn touch typing.
In fact, very long sessions can make beginners tired and careless. Short daily practice is usually easier to maintain.
A useful routine is:
| Time | Activity |
|---|---|
| 2 minutes | Warm up with easy keys |
| 5 minutes | Practise your current lesson |
| 3 minutes | Repeat weak keys |
| 2 minutes | Type a short sentence or test |
That is only around 10 to 12 minutes.
The key is consistency. A short session every day is usually better than one long session once a week.
8. Expect mistakes, but look for patterns
Mistakes are part of learning.
The important thing is not to panic when they happen. Instead, look for patterns.
Ask yourself:
- Do I keep missing the same letter?
- Do I confuse left and right hand keys?
- Do I lose position after reaching away from home row?
- Do I look down when I feel unsure?
- Do punctuation keys slow me down?
- Do capital letters break my rhythm?
Once you know the pattern, you can practise it directly.
Use the Weak Keys Practice tool to find letters or combinations that need more work.
9. Repeat weak keys before moving on
Moving ahead too quickly is another reason learners get lost.
If you start a new lesson while the previous keys still feel uncertain, the next lesson becomes harder than it needs to be.
Before moving on, check:
- Can I find the keys without looking?
- Can I type short words using these keys?
- Can I keep reasonable accuracy?
- Can I return to the home row after each reach?
- Do I know which finger should press each key?
You do not need perfection, but you should feel some control.
Weak-key practice example
If you keep missing r, practise:
red run are far
far red run are
run far red are
If you keep missing b, practise:
bad bag bring bend
bring bend bad bag
Short focused practice is better than repeating a full lesson without knowing what went wrong.
10. Learn to trust your fingers
At first, it is tempting to look down at the keyboard.
That is normal. But if you look down for every key, touch typing cannot fully develop.
The aim is to reduce looking gradually.
Try this method:
- Look at the screen.
- Place your fingers on the home row.
- Type a short line slowly.
- Only look down if you are completely stuck.
- Reset your fingers and try again.
Start with easy lines:
I can find the keys.
My hands return home.
Small steps build skill.
Every time you type without looking, you build confidence.
11. Do not compare yourself too much
Typing progress is personal.
Some people improve quickly because they already use keyboards every day. Others need more time because they are changing old habits or starting from a lower confidence level.
Do not compare your early progress with someone typing 80 WPM online.
A better comparison is:
Am I more accurate and more confident than last week?
Useful progress signs include:
- You look down less often
- You make fewer repeated mistakes
- Your hands feel more relaxed
- You remember more keys automatically
- Your accuracy improves
- Your practice feels less confusing
Those signs matter.
12. When should you take typing tests?
Typing tests are useful once you have some basic control.
Use tests to measure:
- WPM
- Accuracy
- Consistency
- Mistake patterns
- Whether you lose rhythm over time
Start with a one-minute typing test. Later, try a three-minute typing test to see whether your technique stays steady for longer.
After each test, do not only ask:
How fast was I?
Ask:
What should I practise next?
That turns the test into a learning tool.
A simple 7-day beginner touch typing routine
Use this routine if you are starting or restarting touch typing.
Day 1: Set your hand position
Practise finding the home row. Focus on f and j.
Day 2: Practise home row keys
Use short drills with a s d f and j k l ;.
Day 3: Type short home row words
Practise simple words and short phrases using familiar keys.
Day 4: Add a few new keys
Add only a small group of new keys. Do not rush into the whole keyboard.
Day 5: Review weak keys
Look at your mistakes and repeat the keys that caused trouble.
Day 6: Type short sentences
Use simple sentences and focus on accuracy.
Day 7: Take a short test
Take a one-minute typing test and review your accuracy and mistake patterns.
Want a guided path? Try the 7-day typing challenge and build a simple daily routine.
Common reasons beginners get lost
Avoid these habits:
- Trying to learn every key at once
- Taking typing tests before learning the basics
- Chasing speed too early
- Ignoring the home row
- Practising for too long in one session
- Moving ahead before weak keys improve
- Looking at the keyboard too often
- Comparing yourself with fast typists too early
Touch typing feels easier when each step has a clear purpose.
How Qtype Pro helps
Qtype Pro is designed to make touch typing feel structured and manageable.
You can use it to:
- Start with posture and home row
- Learn keys in a clear order
- Practise short lessons
- Track accuracy and WPM
- Identify weak keys
- Use games and challenges for motivation
- Build confidence step by step
Instead of guessing what to practise next, you follow a guided path.
Start slowly, keep accuracy visible, and let each lesson build the next habit.
Frequently asked questions
What is the easiest way to learn touch typing?
The easiest way is to follow a structured path. Start with posture and home row, then add keys gradually. Do not try to master the whole keyboard at once.
Why do I feel slower when learning touch typing?
That is normal. You are replacing old habits with a new system. At first, your fingers need time to learn the key positions. Speed usually improves after accuracy and confidence improve.
Should I look at the keyboard while learning?
Try to look less over time. At the start, an occasional glance is normal. The goal is to build enough confidence that your eyes can stay on the screen.
How long should I practise each day?
For most beginners, 10 to 15 minutes a day is enough. Short daily practice is usually better than occasional long sessions.
Should I use typing tests as a beginner?
Use tests carefully. A short typing test can measure progress, but lessons and drills should be your main practice at the beginning.
How do I know when to move to the next lesson?
Move on when you can type the current keys with reasonable accuracy, find them without constant looking, and return to the home row after each reach.
Final thought
Touch typing becomes easier when you stop trying to learn everything at once.
Start with the home row. Practise slowly. Keep your sessions short. Fix weak keys before moving too far ahead.
Small, clear steps will help you learn touch typing without getting lost.